An Exchange Online Connector is the gatekeeper for every message that enters or leaves your Microsoft 365 tenant. Get it right and your mail flow is secure, predictable, and compliant. Get it wrong and you face bounced messages, spoofing risk, and a helpdesk queue full of “my email isn’t arriving” tickets.
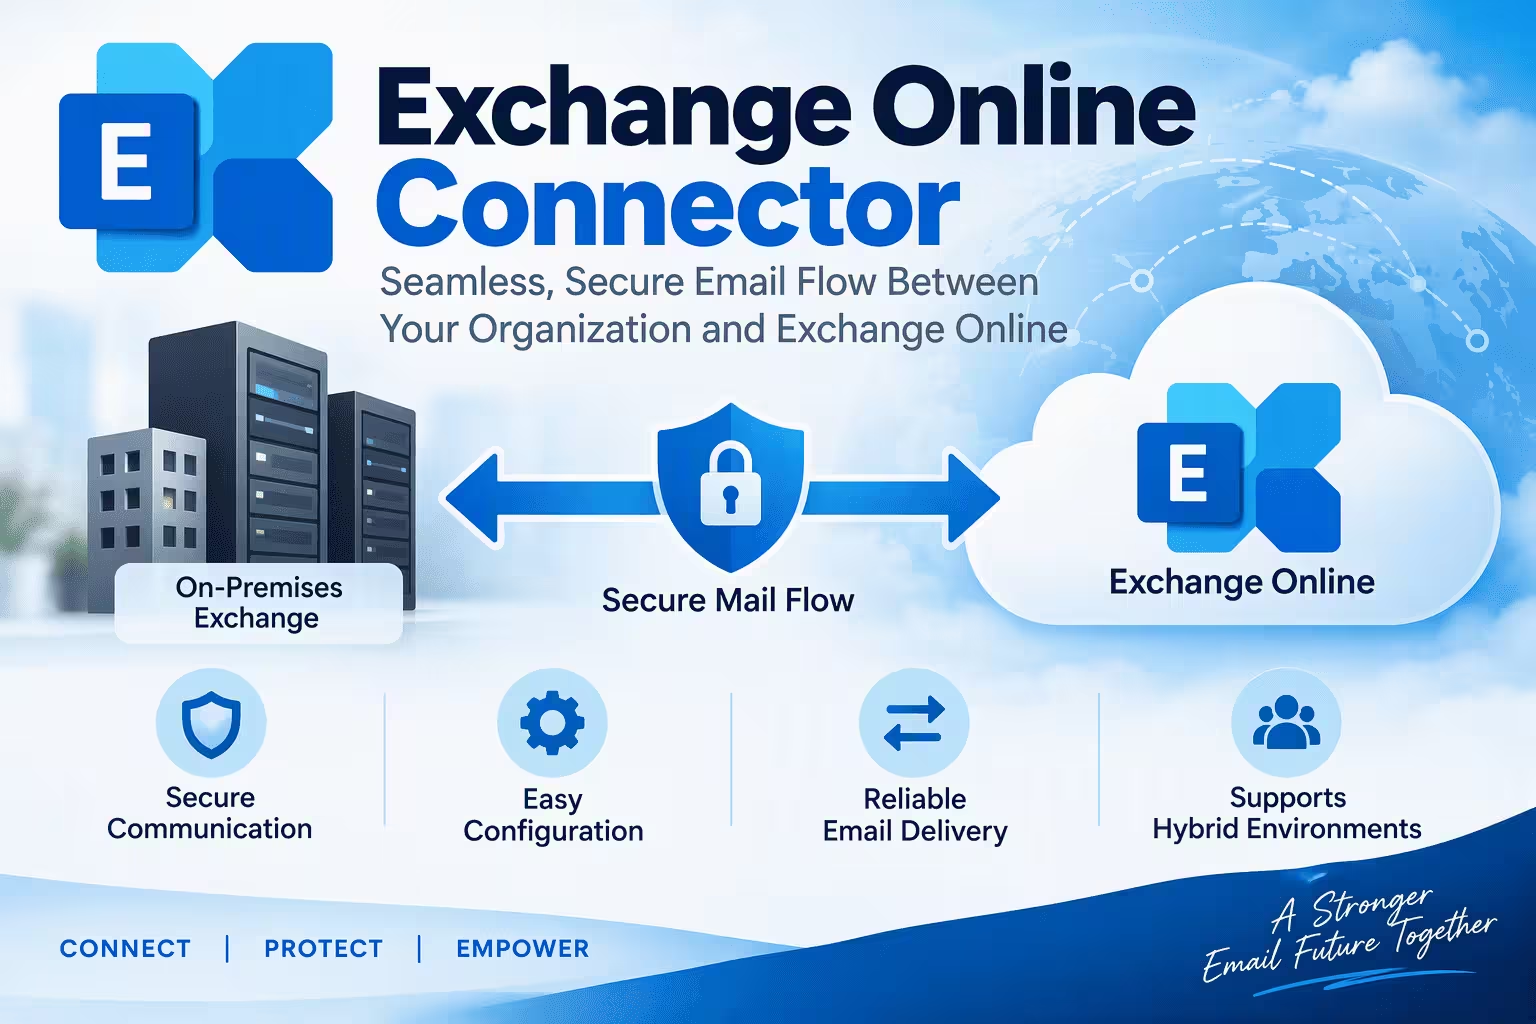
After years of working with hybrid deployments, third-party email gateways, and SMTP relay projects, I’ve seen the same pattern repeatedly. Most mail flow incidents come down to a misconfigured or missing connector. This guide covers everything you need to design, build, secure, and troubleshoot an Exchange Online Connector like a seasoned messaging engineer.
Table of Contents
What Is an Exchange Online Connector?
An Exchange Online Connector is a set of instructions that tells Exchange Online how to route email to and from a specific source or destination. Out of the box, Exchange Online handles Internet mail flow with no configuration. Microsoft 365 receives mail for your accepted domains through your MX record and sends outbound mail directly to the recipient’s mail server.
Connectors are for everything that falls outside that default behavior. They let you:
- Route mail through a third-party security gateway such as Proofpoint, Mimecast, or Barracuda
- Enforce TLS encryption with specific partner organizations
- Connect Exchange Online to on-premises Exchange in a hybrid deployment
- Allow applications, printers, and line-of-business systems to relay mail
- Apply tighter authentication rules to mail from trusted partners
You can manage connectors in the Exchange admin center (EAC) under Mail flow > Connectors, or with Exchange Online PowerShell.
Why the Exchange Online Connector Matters for Security and Compliance
Mail flow is one of the most attacked surfaces in any organization. A properly scoped Exchange Online Connector reduces that risk in three ways.
It establishes trust. Without a connector, Exchange Online treats mail from unfamiliar sources as anonymous Internet mail and applies full anti-spam, anti-phishing, and spoofing checks. A connector lets you identify a sender by certificate or IP address so that trusted mail is handled accordingly.
It enforces encryption. Requiring TLS on a connector ensures messages to and from a partner never travel in clear text. This matters for regulated industries such as finance, healthcare, and legal.
It closes bypass paths. When you place a third-party gateway in front of Microsoft 365, attackers can still deliver mail directly to your tenant.mail.protection.outlook.com endpoint and skip the gateway unless you restrict it with a connector. That single configuration step is among the most overlooked in enterprise tenants.
Types of Exchange Online Connectors
There are two directions of connectors, and each can serve different purposes.
Inbound Connectors
An inbound connector controls mail coming into Exchange Online from a source other than the public Internet’s default path. You choose the connection origin:
- Your organization’s email server, used for on-premises Exchange, hybrid setups, or applications you own
- Partner organization, used for mail from a business partner or a third-party filtering service
Exchange Online identifies the sender by one of two methods: the sender’s IP address or a certificate whose subject name matches your configuration.
Outbound Connectors
An outbound connector controls mail leaving Exchange Online. It applies to specific recipient domains, or to all domains if you use a wildcard. You choose between two delivery methods:
- Use the MX record associated with the recipient’s domain (standard delivery, often paired with enforced TLS)
- Route through a smart host, meaning a specific server such as your on-premises gateway or an email security appliance
Hybrid Connectors
If you run Exchange on-premises alongside Exchange Online, the Hybrid Configuration Wizard (HCW) creates a pair of connectors for you. It creates one inbound and one outbound connector, both tuned for hybrid mail flow. Edit these carefully. Manual changes are a leading cause of broken hybrid routing, and the wizard will overwrite them on the next run.
When Do You Actually Need an Exchange Online Connector?
Not every tenant needs one. You typically require an Exchange Online Connector when:
- You use a third-party email security gateway. Both an inbound connector (to accept mail only from the gateway) and an outbound connector (to send mail through it) are common.
- You have a hybrid environment. Mail flow between the two systems depends on connectors.
- Devices or apps need to relay mail. Multifunction printers, monitoring tools, and CRM platforms often need to send as your domain.
- A partner requires enforced TLS. Compliance frameworks frequently mandate this.
- You migrate in stages. Connectors enable coexistence and routing during cutover migrations.
If your users send and receive mail only through Microsoft 365 with no special requirements, you probably don’t need a custom Exchange Online Connector at all.
How to Create an Inbound Exchange Online Connector
Here is a practical example. Suppose a partner sends mail from a fixed IP address and you want to identify it as trusted and require TLS.
Using the Exchange Admin Center
- Sign in to the Exchange admin center.
- Go to Mail flow > Connectors and select Add a connector.
- Set Connection from to Partner organization and Connection to to Office 365.
- Name the connector clearly, for example
Inbound - Contoso Partner. - Choose By verifying that the IP address of the sending server matches one of these IP addresses, then enter the address.
- Select Reject email messages if they aren’t sent over TLS.
- Review and create the connector.
Using PowerShell
Connect to Exchange Online PowerShell and run:
New-InboundConnector -Name "Inbound - Contoso Partner" -ConnectorType Partner -SenderDomains "contoso.com" -SenderIPAddresses 203.0.113.10 -RestrictDomainsToIPAddresses $true -RequireTls $trueThe RestrictDomainsToIPAddresses parameter is the security-critical piece. It tells Exchange Online to reject mail claiming to be from contoso.com unless it arrives from that IP, which blocks spoofing of that domain through the connector.
How to Create an Outbound Exchange Online Connector
Now the reverse. You want all mail to Tenant365admin.com delivered over validated TLS.
New-OutboundConnector -Name "Outbound - Fabrikam TLS" -ConnectorType Partner -RecipientDomains "fabrikam.com" -UseMXRecord $true -TlsSettings CertificateValidationIf you need to route through a gateway instead, set -UseMXRecord $false and specify -SmartHosts "gateway.yourdomain.com".
Choose the TLS setting carefully:
- EncryptionOnly requires encryption but doesn’t validate the certificate.
- CertificateValidation requires encryption and validates that the certificate is issued by a trusted authority and hasn’t expired.
- DomainValidation goes further and checks the certificate name against a domain you specify.
For most compliance-driven scenarios, CertificateValidation or DomainValidation is the right choice. EncryptionOnly protects against passive eavesdropping but not against impersonation.
Securing Your Exchange Online Connector: Best Practices
A working connector isn’t necessarily a secure one. These are the practices I recommend on every engagement.
Prefer certificate-based identification over IP-only where possible. IP addresses change. Certificates let a connector remain trustworthy even when a partner’s infrastructure moves.
Scope narrowly. Avoid wildcard sender domains unless you truly need them. A connector accepting mail from * with weak restrictions is a wide door.
Lock down direct delivery when using a gateway. If all inbound mail should pass through a security gateway, create an inbound partner connector that accepts mail only from the gateway’s IP ranges, and use a mail flow rule to reject mail that arrives from anywhere else. This stops attackers bypassing your filtering by targeting the Microsoft 365 endpoint directly.
Configure Enhanced Filtering for Connectors. When a gateway sits in front of Exchange Online, Microsoft 365 sees the gateway’s IP instead of the original sender’s IP. That degrades spoof detection and anti-spam accuracy. Enhanced Filtering (skip listing) tells Exchange Online to look past the gateway to the true source IP. You can set it in the EAC connector settings or with parameters such as -EFSkipLastIP and -EFSkipIPs.
Consider disabling Direct Send. Direct Send lets devices deliver mail unauthenticated to your MX endpoint using your own domain as the sender. It is convenient but easily abused. Microsoft now offers an organization-level setting, Set-OrganizationConfig -RejectDirectSend $true, that blocks it. Move printers and apps to authenticated SMTP submission or a dedicated connector before turning it on.
Name and document everything. Use descriptive names and the notes field. Six months later, nobody remembers why Connector 2 (new) exists.
Audit regularly. Review your connector list quarterly. Remove any that reference decommissioned partners or retired servers.
Common Exchange Online Connector Scenarios
Scenario 1: Third-Party Email Security Gateway
Create an inbound connector from the gateway’s IP ranges with TLS required, and an outbound connector with -SmartHosts pointing at the gateway (or a transport rule to route selectively). Update your MX record to the gateway. Enable Enhanced Filtering so Microsoft 365 still sees the original sender IP.
Scenario 2: SMTP Relay for Applications and Printers
Rather than allowing unauthenticated Direct Send, create an inbound connector of type Your organization’s email server, identified by the static public IP of your office or data center. Then point devices to your MX endpoint. This is the recommended method for devices that can’t do modern authentication, provided the IP is stable and tightly scoped. Remember that the connector authorizes the IP, so any system behind that address can relay mail as your domain.
Scenario 3: Hybrid Coexistence
Let the HCW build your connectors, and keep certificates current on the on-premises side. An expired certificate on the hybrid connector is one of the most common causes of sudden mail flow failure between on-premises and cloud mailboxes.
Scenario 4: Enforced TLS with a Partner
Build an outbound connector scoped to the partner’s domain with CertificateValidation or DomainValidation. Build a matching inbound connector if the partner also sends to you and you require TLS in both directions.
Troubleshooting Exchange Online Connector Errors
Even well-designed connectors fail. This is the checklist I follow.
Start with the message trace. In the EAC, run a message trace and open the detailed view. The event details usually reveal which connector handled the message and where it failed.
Read the NDR carefully. The enhanced status code often points straight to the cause:
- 550 5.7.64 TenantAttribution: Exchange Online can’t attribute the message to your tenant. This is commonly seen with certificate-based connectors when the connector configuration doesn’t match the certificate or the sending source. Check the identification method and the accepted domains.
- 550 5.7.51 TenantInboundAttribution: Usually signals that a domain is set to accept mail only from a connector, and the message didn’t match. Verify the connector’s sender domains and IP or certificate settings.
- 550 5.7.1 Unable to relay: The sending system isn’t authorized. Confirm that the connector exists, is enabled, and that the sending IP matches.
- TLS negotiation failures: Check that the remote server supports a modern TLS version and presents a valid, unexpired certificate whose name matches what you configured.
Use the built-in validation. In the EAC, the Validate this connector option tests connectivity to a mailbox in the destination domain and reports which checks passed or failed.
Check for conflicts. Multiple connectors matching the same recipient domain, or a mail flow rule that reroutes messages, can send mail down a path you didn’t expect. Review priority and scope.
Check DNS. Incorrect MX, SPF, DKIM, or DMARC records don’t break a connector directly, but they cause downstream delivery and spam-folder problems that get blamed on it.
Confirm the connector is enabled. It sounds trivial, but a disabled Exchange Online Connector is a surprisingly frequent finding.
Exchange Online Connector Management Tips for Admins
Use these PowerShell commands to inspect your environment:
Get-InboundConnector | Format-List Name,Enabled,ConnectorType,SenderDomains,SenderIPAddresses,RequireTls

Get-OutboundConnector | Format-List Name,Enabled,RecipientDomains,SmartHosts,UseMXRecord,TlsSettings
Export this to a file as a baseline. If a change breaks mail flow, you can compare against the baseline and roll back in minutes. Treat connector changes like any other production change: test in a scoped way, document them, and schedule them outside peak mail hours.
Also stay current with Microsoft announcements. The platform’s handling of SMTP AUTH, Direct Send, and outbound limits has been evolving, and connector-based designs are frequently the recommended replacement for legacy approaches.
Frequently Asked Questions (FAQ)
1. What is an Exchange Online Connector used for?
It controls how mail flows between Exchange Online and other systems, such as partner organizations, on-premises servers, third-party gateways, and applications. It enables routing, TLS enforcement, and trusted-sender identification.
2. Do I need an Exchange Online Connector for every domain?
No. A connector can cover multiple domains through sender domain or recipient domain lists, or a wildcard. Only create separate connectors when the settings differ.
3. What’s the difference between an inbound and outbound connector?
An inbound connector governs mail entering Exchange Online. An outbound connector governs mail leaving it. Many scenarios, such as a gateway or hybrid setup, need both.
4. Can an Exchange Online Connector enforce TLS?
Yes. Inbound connectors can reject mail not sent over TLS. Outbound connectors can require encryption with certificate or domain validation.
5. Is Direct Send the same as using a connector?
No. Direct Send delivers unauthenticated mail straight to your Microsoft 365 MX endpoint. A connector explicitly authorizes a specific IP address or certificate, which makes it more controlled and secure.
6. Why is my mail rejected with a TenantAttribution error?
Exchange Online couldn’t match the message to your tenant or connector. Check the connector’s identification method, sender domains, IP addresses or certificate name, and verify the connector is enabled.
7. Can I create an Exchange Online Connector with PowerShell?
Yes. Use New-InboundConnector and New-OutboundConnector, and manage them with Set- and Remove- cmdlets.
8. Does the Hybrid Configuration Wizard create connectors automatically?
Yes. It creates the inbound and outbound connectors that hybrid mail flow requires. Avoid manual edits, as a re-run of the wizard can overwrite them.
Summary
The Exchange Online Connector is one of the most powerful and most misunderstood features in Microsoft 365 mail flow. Used well, it lets you route mail through security gateways, enforce TLS with partners, support hybrid coexistence, and safely relay mail from applications, all while shrinking your attack surface.
The key takeaways:
- Use inbound connectors to control and trust mail entering your tenant, and outbound connectors to control mail leaving it.
- Scope every connector narrowly and prefer certificate-based identification.
- Lock down direct delivery when a third-party gateway is in place, and enable Enhanced Filtering.
- Replace risky Direct Send patterns with authenticated or connector-based relay.
- Troubleshoot methodically with message trace, NDR codes, and connector validation.
- Document, audit, and baseline your connectors regularly.
Master these principles and your Exchange Online Connector configuration will be secure, resilient, and easy to maintain.
Exchange Online Archive: The Ultimate Guide to Stop Losing Critical Emails Forever
Exchange Online PowerShell Cheat Sheet: Ultimate Admin Guide
Conditional Access Interview Questions: Proven Answers 2026
